Visible carpet seams are more than an aesthetic annoyance; they can signal incorrect installation that affects wear, warranty coverage, and the overall durability of the floor. Homeowners frequently ask, "why carpet seams are visible after installation?" This guide explains the most common causes, the professional corrections that reliably fix the problem, and preventive steps to ensure seams remain invisible over time.
National Carpet Installation brings experienced technicians to every inspection. We assess the seam appearance, determine whether seams are a cosmetic issue or a symptom of a larger installation problem, and outline options ranging from targeted repairs to full reinstallation when necessary. The goal is to restore a smooth, consistent finish so your floors look and perform as intended.
 Understanding the root causes is the first step to solving visible seams. Many issues stem from planning and technique rather than the carpet product itself. Misaligned pile direction, inadequate seam seaming (poor gluing or stitching), improper tensioning during stretch-in installation, and substandard seam cutting are frequent culprits. Moisture issues and uneven subfloors can also force seams to open or telegraph through the carpet surface over time.
Other, less obvious causes include using mismatched rolls with slight dye lot differences, running short ends into a visible area instead of reorienting the layout, and selecting an installation pattern that highlights seams (for example, when a repeat or pattern line falls along a seam). Even small mistakes-like failing to trim edges squarely-can create a visible shadow or separation along a seam.
Carpet seaming requires the right adhesive, tape, or stitcher and a clean, square-cut edge. If a seam is glued with too little adhesive or wrong tape width, it can separate or show through. If a hot-water or latex adhesive is used improperly, it can discolor fibers or be uneven, producing a visible line. A professional seamer ensures consistent pressure, correct seam roller use, and cleanup of excess adhesive to maintain a seamless look.
Temperature, humidity, and adhesive cure time all affect how well a seam sets. Installing carpet in extreme cold or on a damp subfloor may prevent adhesives from bonding properly, causing seams to lift later. Additionally, using rolls from different dye lots-even if the color match looks acceptable in daylight-can cause seams to appear under certain lighting conditions. Recognizing these environmental and material constraints is key to preventing visible seams.
When seams are visible, competent technicians follow a systematic approach: diagnose the cause, propose the least invasive fix that will be durable, and execute the repair with industry-standard tools and materials. Repairs range from re-tensioning the carpet with power-stretching equipment to fully re-seaming and blending fibers where dye differences are present. The repair technique depends on whether the problem is tension-related, adhesive failure, or a manufacturing mismatch.
For seams where the adhesive has failed or the tape was incorrectly placed, professionals will remove the seam adhesive, re-cut the edges squarely, and apply the correct seaming method-seaming tape with heat-welded or hot-melt adhesives, or hand-stitching where appropriate. This meticulous process addresses both adhesion and visual continuity, reducing the likelihood the seam will reappear.
Visible seams caused by carpet relaxation or improper stretch can often be corrected without replacing carpet. Power-stretching uses a knee kicker and power stretcher to re-tension and secure the carpet to the tackless strip, eliminating buckling and reducing gap visibility. This solution restores the carpet's proper alignment and can be completed in one visit for many rooms.
If a seam is visibly different because of pile direction or dye lot variation, re-seaming may be necessary. Technicians cut clean, square seams and rejoin with appropriate seam tape and adhesive. When dye differences are subtle but present, fiber-level blending techniques and targeted dye touch-ups can minimize contrast. In extreme cases, a small patch cut from a hidden area like a closet may be used to replace the problematic section for an exact match.
 Good planning during the initial installation eliminates most seam visibility problems. Start by inspecting rolls for matching dye lots and selecting a layout that minimizes the number of seams in high-visibility areas. Orient pile direction consistently so seams fall along inconspicuous lines or under furniture whenever possible. A detailed pre-install checklist helps avert many later complaints.
Subfloor preparation is equally important. A flat, clean, dry subfloor allows the carpet to lie evenly, while underlay choice affects how seams settle. Proper underlayment and moisture mitigation measures prevent seam separation and edge show-through down the road. Professional installers factor these elements into every estimate and plan.
 Cost varies by the scope of work. Small tension corrections and re-stretching typically run less than re-seaming or full replacement. Expect a simple power-stretch job to be in the range of $75-$200 for many rooms, while complex re-seaming, dye corrections, or patching can be higher depending on labor intensity and travel. Your technician will provide a clear estimate after on-site assessment.
The timeline for repair depends on the method: re-stretching can be completed in a few hours, while adhesive rework, seam drying, and dye blending may need additional time for adhesives to cure or dyes to set. A full reinstallation schedule will take longer and may require furniture removal and additional prep time. Professionals will outline these expectations so homeowners can plan accordingly.
Repairs performed according to manufacturer and industry standards protect warranties and ensure long-term performance. Improper DIY fixes can void warranties or cause recurring problems. When you choose certified technicians, they document the repair, use recommended materials, and often offer service guarantees on workmanship. This documentation can be valuable if warranty claims or future issues arise.
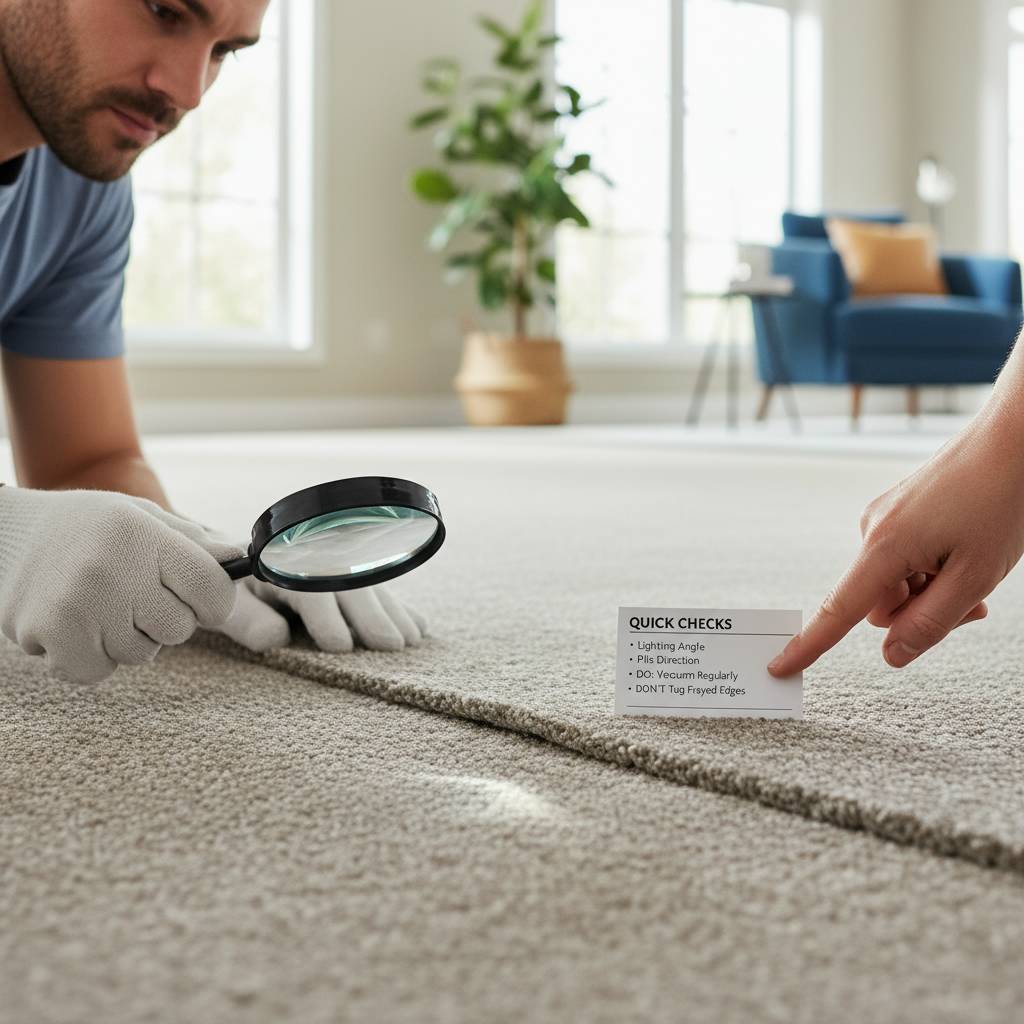 Homeowners can take simple steps to prevent or spot seam issues early. After installation, inspect seams from multiple angles and lighting conditions. If you see a small separation or line, report it promptly-early intervention is usually less expensive and less invasive. Keep humidity and temperature within recommended ranges for the carpet type, and avoid heavy furniture placement directly on new seams for a short settling period.
Do not attempt aggressive DIY adhesive work or glue visible seams with household adhesives; incorrect products can damage fibers and make professional repair more difficult. Also avoid trimming or pulling at seams-these actions often exacerbate the problem. If you have concerns, contact a professional for a clear assessment and repair plan.
 Scenario 1: A living room with a subtle but visible seam along the main sightline. Diagnosis revealed the seam was installed in a high-traffic orientation with the pile running opposite on adjacent rolls. The corrective approach involved re-cutting and re-seaming with a seam iron and tape, followed by power-stretching. The result was a near-invisible seam and even pile lay across the room.
Scenario 2: A bedroom where a seam opened after a few months. Inspection showed moisture under the carpet had weakened the adhesive. Technicians removed the affected section, dried and treated the subfloor, and re-seamed with the correct adhesive system. This eliminated recurrence and preserved the carpet warranty.
Q: How soon after installation should seams be inspected?

A: Inspect seams within 24-48 hours in normal conditions, and again after 7-14 days once adhesives and pile have settled. Early identification allows simpler corrections.
Q: Will re-stretching always fix visible seams?
A: Re-stretching corrects tension-related seam issues but won't fix dye lot mismatches or seams caused by incorrect materials. A full assessment determines the appropriate treatment.
Q: Can a seam be hidden completely if the dye lot differs slightly?
A: Small variations can often be minimized with blending and layout adjustments, but significant dye differences may require a patch from a matching roll or a broader reinstallation for perfect continuity.
 National Carpet Installation combines technical expertise with transparent communication. On every job we provide a clear diagnosis explaining why carpet seams are visible after installation and a recommended repair path that balances durability with cost-effectiveness. Our technicians arrive with the right tools and materials, and they document the condition and the work performed.
We know that confidence in your floors isn't just about fixing a line; it's about restoring trust in the installation. NCI and the team stand behind workmanship with service guarantees and follow-up inspections when needed. We aim to resolve visible-seam issues efficiently and leave behind a uniform, comfortable surface you can rely on.
If visible seams are undermining your room's finish, contact National Carpet Installation for a professional assessment. Our inspections identify the specific causes and provide straightforward options-whether that means a quick re-stretch, precise re-seaming, dye correction, or a more comprehensive solution. Schedule a visit so we can evaluate your flooring and recommend the best path forward.

Call us today at 505-555-7733 to book an inspection. We will provide a clear, written estimate and explain the timeline and expected results before any work begins. Let us help you restore a seamless appearance and peace of mind.