When a carpet develops wrinkles it's usually a symptom of overlooked preparation or incorrect tensioning during installation. At the heart of every wrinkle-free floor is a methodical approach: inspect the substrate, prepare for moisture and debris, choose compatible padding, and apply the right stretching tools and patterns. National Carpet Installation trains every technician in these proven procedures so installations remain smooth and stable for years.
This page explains what installers do to prevent wrinkles, the step-by-step activities completed on site, and the troubleshooting signs that indicate corrective action is needed. Whether you're a homeowner planning a new install or a property manager auditing workmanship, these guidelines clarify expectations and make quality visible. Read on for practical techniques and real-world examples that installers use every day.
We also outline common pitfalls, the difference between temporary fixes and permanent corrections, and how warranty and inspection protocols can protect your investment. If at any point you need a professional inspection or installation, call 505-555-7733 to schedule service with certified technicians from National Carpet Installation.
Carpet wrinkles usually stem from three main causes: improper stretching during installation, subfloor movement or moisture, and normal household wear combined with inadequate padding. Temperature fluctuations and high humidity can cause carpets and backing materials to expand and contract; without correct installation tension, that movement manifests as ripples or buckles. Understanding these root causes helps installers prevent problems before they start.
Early warning signs include small waves at seams, slight looseness in high-traffic paths, and visible puckering near doorways or thresholds. Left unchecked, small ripples grow into larger buckles that become tripping hazards and accelerate wear. Installers watch for these indicators during post-installation inspections to decide if quick adjustments or a full re-stretch is required.
Another frequent driver of wrinkles is an incompatible padding or old foam that has compressed unevenly. Padding should match the carpet style and traffic level; otherwise, compression and lateral shift can change the carpet's effective tension over time. Proper selection and site assessment prevent many of the most common wrinkle-related callbacks.
 Thorough surface preparation is a non-negotiable part of a lasting carpet installation. Installers begin with a detailed inspection of the subfloor for flatness, levelness, moisture intrusion, and debris. Any loose nails, warped boards, or adhesive residue are corrected or removed. If the substrate is uneven, it's leveled so the carpet has a uniform base-this reduces localized stress that often leads to wrinkles.
Moisture testing and remediation are also standard. Damp or high-moisture subfloors can degrade backing and adhesives, causing slippage or shrinkage. Installers will test with moisture meters and allow adequate drying time, or they recommend vapor barriers and specific adhesives when moisture cannot be eliminated. Skipping this step can turn a good installation into a problem within months.
Finally, tack strips, threshold transitions, and perimeter trims are installed with precision. Tack strips must be firmly anchored and correctly positioned-too far from the wall or unevenly set tack strips prevent effective stretching. These often-overlooked details are where installers make the difference between a carpet that stays flat and one that develops wrinkles prematurely.
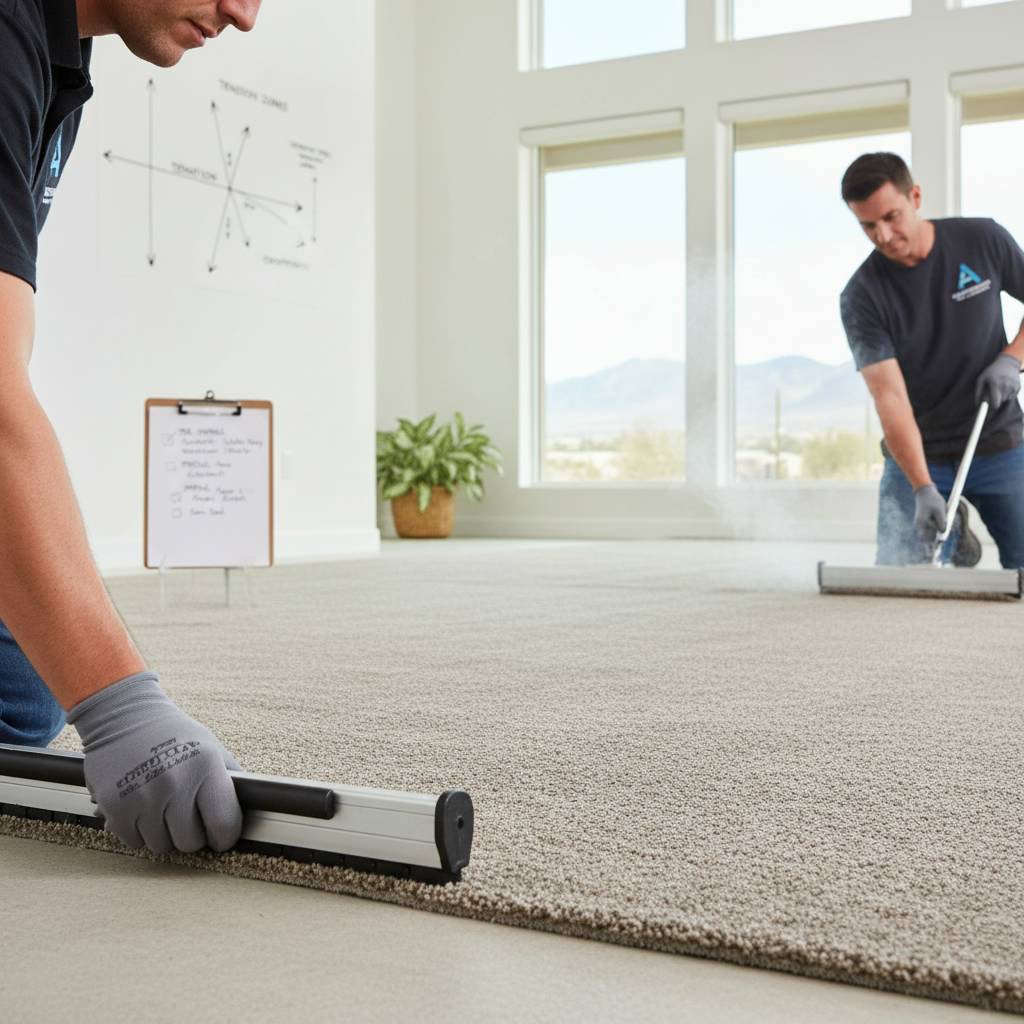
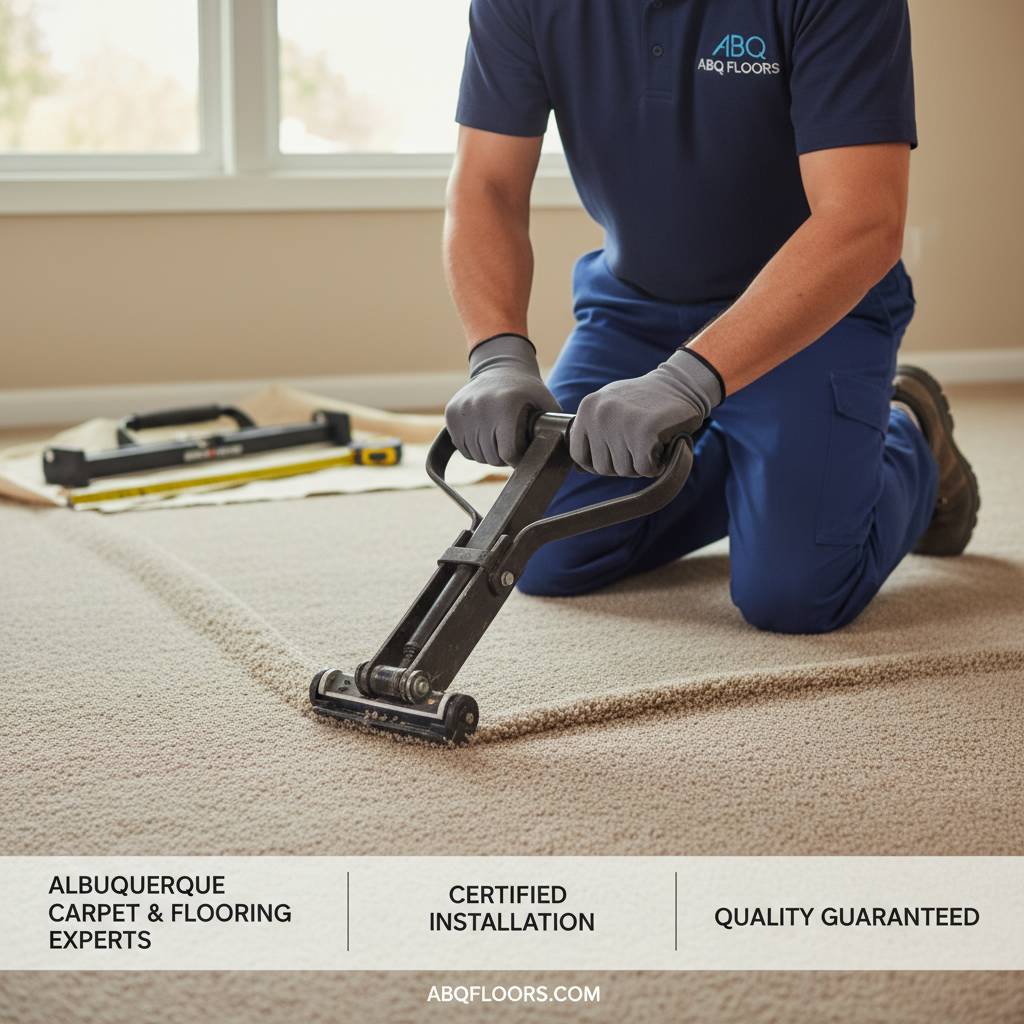
Correct stretching is the single most important technique for preventing wrinkles. Professionals use power stretchers and knee kickers in complementary ways: a power stretcher applies even, long-lever tension across a large field, while knee kickers handle tight corners and small adjustments. Installers plan the sequence of pulls so tension is applied toward secure perimeter strips rather than away from them.
Installers follow specific patterns-usually working from the center of a room toward edges and from the most stable wall outward-to distribute tension evenly. Seams are joined and sealed before final stretching so that the seam stays tight and bonded rather than shifting under load. The process requires an experienced eye: over-stretching can be as damaging as under-stretching, so technicians monitor tension continuously.
When installers ask, what installers do to prevent wrinkles, they often point to the combination of correct tool selection, measured stretches, and incremental checks. After initial stretching the carpet is allowed to relax briefly and then re-checked and re-stretched as needed. This staged approach ensures long-term stability and reduces the risk of rebound wrinkling.
 Choosing the right padding and adhesives is as crucial as the stretching technique. Padding acts as the carpentry beneath the carpet: density, thickness, and material all influence how the carpet behaves under tension and traffic. Installers typically select higher-density pads for heavy traffic and low-profile pads for loop or berber styles to prevent premature compression and shifting.
| Padding Type | Common Thickness | Best Use |
|---|---|---|
| High-density rebond | 1/4" - 7/16" | General residential and high-traffic areas |
| Frothed rubber | 1/4" - 1/2" | Premium installations; sound and comfort |
| Memory foam | 1/4" - 3/8" | Comfort-focused rooms; not for heavy traffic |
Seams are another potential source of failure if not executed properly. Installers ensure seams are cut straight, edges are skived where necessary, and seaming tape and adhesive meet manufacturer specifications. A flat, well-bonded seam will not only look better but will resist the lateral movement that causes wrinkles.
 A successful installation includes post-installation care guidelines and proactive maintenance recommendations. Installers advise acclimation time for both carpet and padding before heavy furniture is placed; they recommend gradual reintroduction of furniture and rugs to allow the carpet to settle. Routine vacuuming with proper settings and immediate attention to spills also reduce uneven wear that can cause loose areas to form.
Transitions between flooring types and thresholds receive special attention. Properly installed transition strips prevent edges from lifting and keep tension from relieving at critical points. Installers also recommend periodic inspections-usually within the first 6-12 months-so minor adjustments can be made before a small ripple becomes a safety issue.
For commercial spaces, load and traffic mapping further help preserve tension. Installers may advise on traffic patterns, protective mats at entryways, and furniture pads to minimize concentrated stress. These small interventions can significantly extend the time between maintenance re-stretches and protect the appearance of the floor.
 Not all wrinkles require a full re-installation. Minor waves near doorways or small ripples in low-traffic areas can sometimes be corrected by local re-tensioning, readjusting transition strips, or replacing compressed padding. Installers will first perform a diagnostic: identify the wrinkle cause, verify substrate conditions, and check seam integrity before recommending a fix.
If the carpet has loosened across a wider area or the problem recurs, a professional power re-stretch is typically the solution. The process involves detaching carpet edges where necessary, applying controlled tension with a power stretcher, and securing the carpet back to the tack strips. Typical re-stretch service costs vary by region and job size; many homeowners see ranges like $75-$200 for small areas, while larger rooms require proportionally higher investment.
Preventive inspection and timely re-stretching preserve both safety and appearance. Installers document the condition and any corrective steps taken so property owners have a record for warranty or future maintenance. When you ask what installers do to prevent wrinkles, the answer includes this ongoing care: inspection, minor corrections, and timely re-stretching when required.
 Quality installations begin with training. National Carpet Installation invests in hands-on training for technicians covering substrate assessment, moisture mitigation, proper tack strip layout, power stretch techniques, and seam finishing. Field mentors evaluate apprentices on real jobs so theoretical knowledge becomes practiced skill. This thorough training reduces callbacks and ensures consistent outcomes across installers and site conditions.
Quality control also includes checklists and post-installation walk-throughs. Technicians inspect each room for flatness, seam tightness, and edge security before signing off. Supervisors perform random audits and document findings; this creates traceable accountability that benefits property owners. In some cases, NCI and other senior installers provide additional spot checks on larger projects.
Warranties and service agreements back up workmanship. National Carpet Installation details what the warranty covers and the expected maintenance schedule to keep the warranty valid. Clear documentation ensures homeowners understand what to expect and when to call for service, reducing confusion and fostering long-term satisfaction with the installed carpet.
If you suspect your carpet is starting to wrinkle or you're planning a new installation, a professional inspection is the safest next step. A qualified installer will perform surface tests, evaluate padding compatibility, and outline a plan that emphasizes correct stretching and surface preparation. This approach minimizes the chance of costly rework later and helps maintain the carpet's look and performance.

For a thorough assessment or to schedule a professional installation, contact National Carpet Installation. Our technicians will explain the specific steps we'll take, provide a clear estimate, and answer questions about timelines and care. Call 505-555-7733 to arrange an inspection or book a service appointment.
Protect your flooring investment by choosing installers who prioritize the practices described here. When installers focus on what installers do to prevent wrinkles-proper substrate prep, correct tools, measured stretching, and quality padding-you get a floor that looks better and lasts longer. Reach out to National Carpet Installation at 505-555-7733 to get started.
Ready to schedule? Contact National Carpet Installation today to arrange a professional installation or inspection. Call 505-555-7733 to speak with a trained technician and get a transparent estimate.