Every successful carpet installation starts below the pile. Understanding how installers prepare subfloor for carpet helps homeowners and property managers appreciate the steps that lead to a neat, durable finish. A properly prepared subfloor reduces the likelihood of squeaks, premature wear, rippling, and mold growth. It also ensures the carpet lies flat and feels comfortable underfoot, which directly impacts appearance and performance for years.
National Carpet Installation approaches each job with a systematic process that balances attention to detail and practical scheduling. Our team documents each stage of preparation, from inspection and cleaning through leveling and moisture control, so you receive a clear record of work performed. If you prefer a quick overview or a detailed report with photos, we tailor documentation to your needs to provide confidence before the carpet goes down.
 Good preparation begins with a thorough inspection of the existing subfloor. Installers measure flatness, check for soft spots or rot, and look for signs of previous water damage or mold. These observations determine whether the customer needs only cleaning and leveling, localized repairs, or a full replacement of sections of the subfloor. The inspection also identifies transitions, thresholds, and areas where underlayment or padding interfaces with other flooring types.
When asking how installers prepare subfloor for carpet, note that the initial assessment also includes ambient factors: room humidity, recent flooding history, and whether the space has crawlspace or concrete slab below. For concrete slabs, installers test moisture vapor emission rate (MVER) or relative humidity (RH) within the slab to ensure the slab meets the manufacturer's requirements for adhesive and carpet padding. These tests guide the selection of moisture mitigation systems and adhesives.
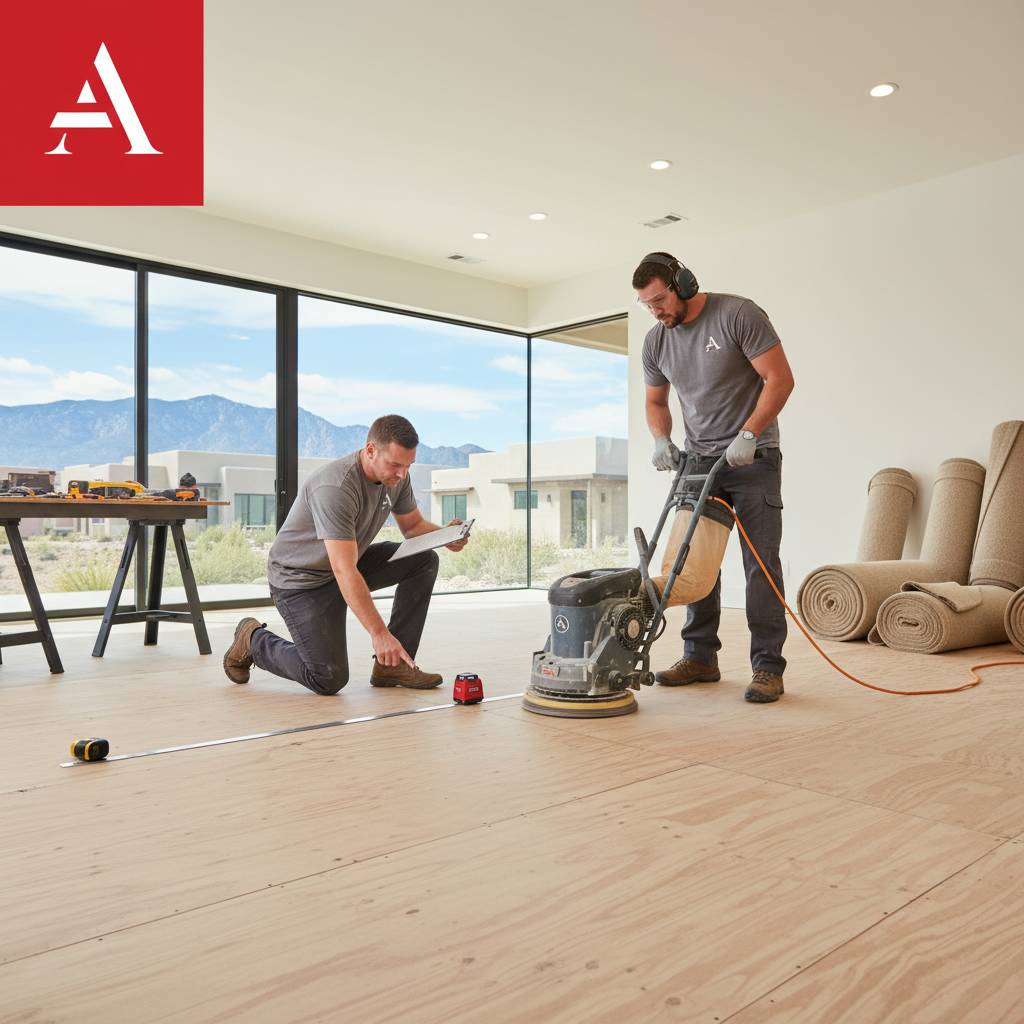
Before any leveling or repairs, the subfloor must be clean and free of contaminants. Installers remove nails, staples, old adhesive residue, loose drywall dust, and construction debris that might interfere with bond or create lumps under the carpet. For wood subfloors, sanding may be required to remove raised splinters or to create a smooth surface for patching compounds. For concrete, a thorough sweep and vacuuming is followed by mechanical grinding where necessary to remove ridges and thin-set mortar.
Cleaning also includes addressing biological contaminants. If mold or mildew is present, installers take appropriate remediation steps, which may include HEPA vacuuming, antimicrobial treatments, and localized removal of affected materials. Proper containment and drying follow remediation. These steps are important not only for carpet longevity but for indoor air quality and occupant health, especially in homes with allergy concerns or sensitive occupants.
 A flat, stable surface is essential for preventing ripples, seam openings, and uneven wear. Installers measure and correct high and low spots, often using straightedges or laser levels to identify deviations. For wood subfloors, the process may include sistering joists, adding blocking, or installing additional plywood layers to eliminate flex. For small depressions, a suitable floor patch or leveling compound is used to bring the surface into tolerance with the carpet and padding manufacturer's specifications.
Concrete slab repairs might involve grinding high spots and filling low areas with polymer or cement-based leveling compounds that are compatible with the flooring system. For structural concerns-such as large rot areas or compromised joists-installers recommend replacing sections rather than applying superficial patches. Typical localized repair costs vary by region and complexity; simple patching can range from $75-$200 while more extensive structural repairs cost more, depending on materials and labor.
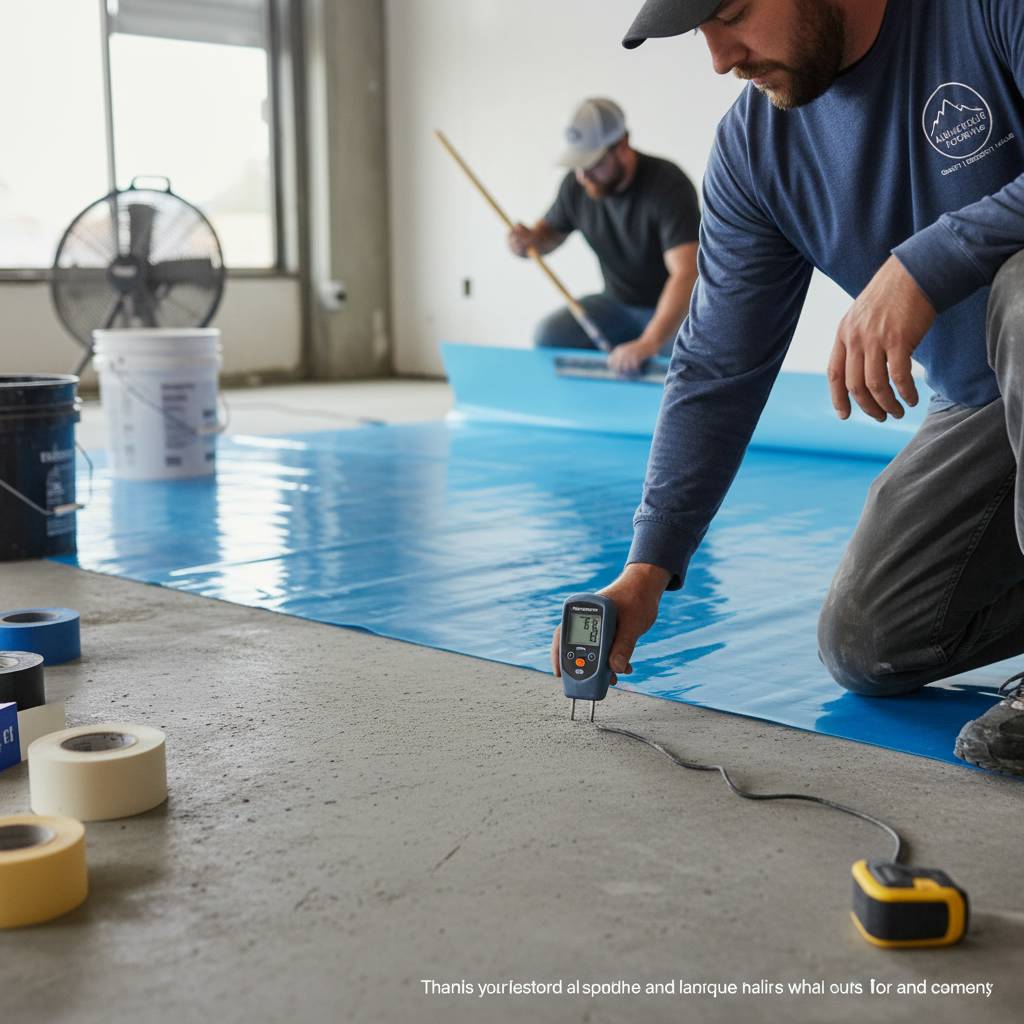 Moisture is one of the most common causes of carpet failure and subfloor deterioration. Proper installers always test moisture levels before laying carpet. For concrete, tests like calcium chloride MVER and in-situ RH tests provide objective data. For wood subfloors, moisture meters measure percent moisture content in relation to local ambient humidity. These results determine whether a moisture barrier, vapor retarder, or specialized adhesive is required.
When moisture exceeds acceptable levels, installers use several mitigation strategies. On concrete slabs, a surface-applied topical sealer or a bonded moisture barrier can prevent vapor transmission into adhesives and carpet backing. In other cases, a full broadcast epoxy or polyurethane moisture control system is necessary. For wood subfloors with persistent moisture, corrective measures may include improving drainage, adding ventilation, or installing new subflooring materials designed for wet conditions.
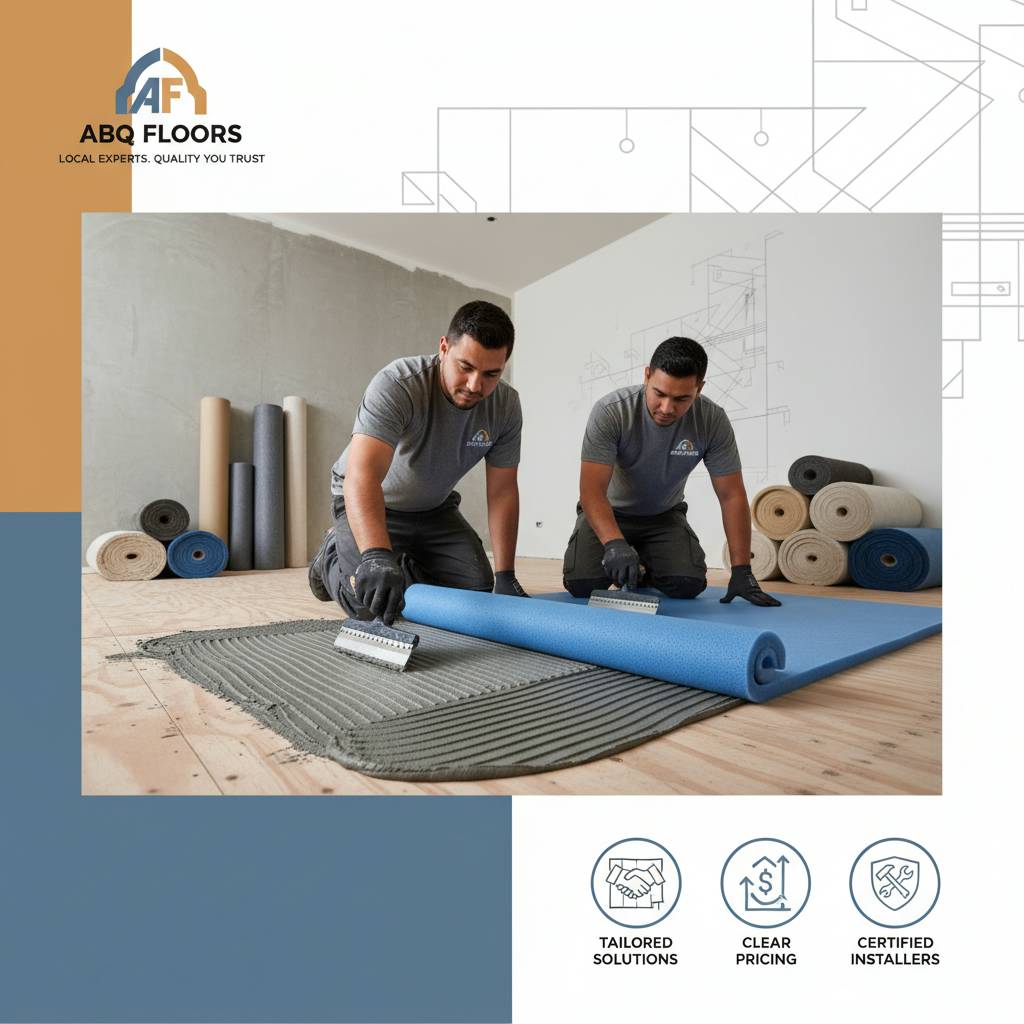 Choosing the right adhesive, underlayment, and padding depends on the substrate and the carpet product. For example, direct-glue down carpet on concrete requires adhesives formulated for that application and for the slab's moisture profile. Cushion-backed carpet may require a particular density and thickness of pad to meet warranty requirements. Installers consider manufacturer specifications, fire ratings, and sound control needs when making recommendations.
Installing a barrier or underlay can also improve thermal comfort and reduce noise transmission. On concrete slabs, a bonded underlayment may be used to provide a consistent surface and improve adhesion. On wood, a specific type of breathable underlayment can prevent trapping moisture while smoothing minor imperfections. Qualified installers document the materials chosen and confirm that they're approved for both the carpet and the subfloor conditions.
 Before the carpet gets rolled out, installers complete a final checklist that confirms flatness tolerances, moisture readings, and the condition of repairs and underlayment. This final inspection often includes photographic evidence and written notes, documenting that each prepared area meets the predetermined standards. Documentation protects both the installer and the homeowner and provides a reference if any issues arise after installation.
Installers also ensure that transitions to adjacent flooring, thresholds, and door clearances are properly handled. Carpet seams are planned relative to traffic patterns and furniture placement to minimize visibility and wear. If there are any outstanding items-such as additional drying time for a leveling compound-those are communicated clearly before carpet installation commences. This level of communication reduces surprises and ensures a smoother final phase of the project.
People often ask: How long does subfloor preparation take? Timing depends on the work needed. A simple cleaning and light leveling can be completed in a day, while extensive structural repairs, moisture remediation, or drying of concrete slabs may take several days to weeks. It's important to plan realistically, since rushing the subfloor stage can lead to costly failures down the line.

Another frequent question: Can I prepare the subfloor myself? Homeowners can perform basic cleaning and minor patching, but testing moisture, making structural repairs, and choosing compatible adhesives require experience and tools. National Carpet Installation is available to consult on scope and to provide a professional estimate if you prefer a contractor to handle the entire preparation process. For projects where warranties matter, manufacturer-approved installers are often required to preserve coverage.
| Substrate | Primary preparation steps | Typical concern |
|---|---|---|
| Wood subfloor (plywood) | Inspect for rot, fix joist bounce, screw down, patch gaps, sand | Flex and squeak prevention |
| Concrete slab | Moisture testing, grind/clean, level with underlayment, apply vapor barrier if needed | Vapor transmission and adhesion |
| Existing resilient or tile | Remove loose tiles/adhesive, grind ridges, use smoothing compound | Surface flatness and bonding |
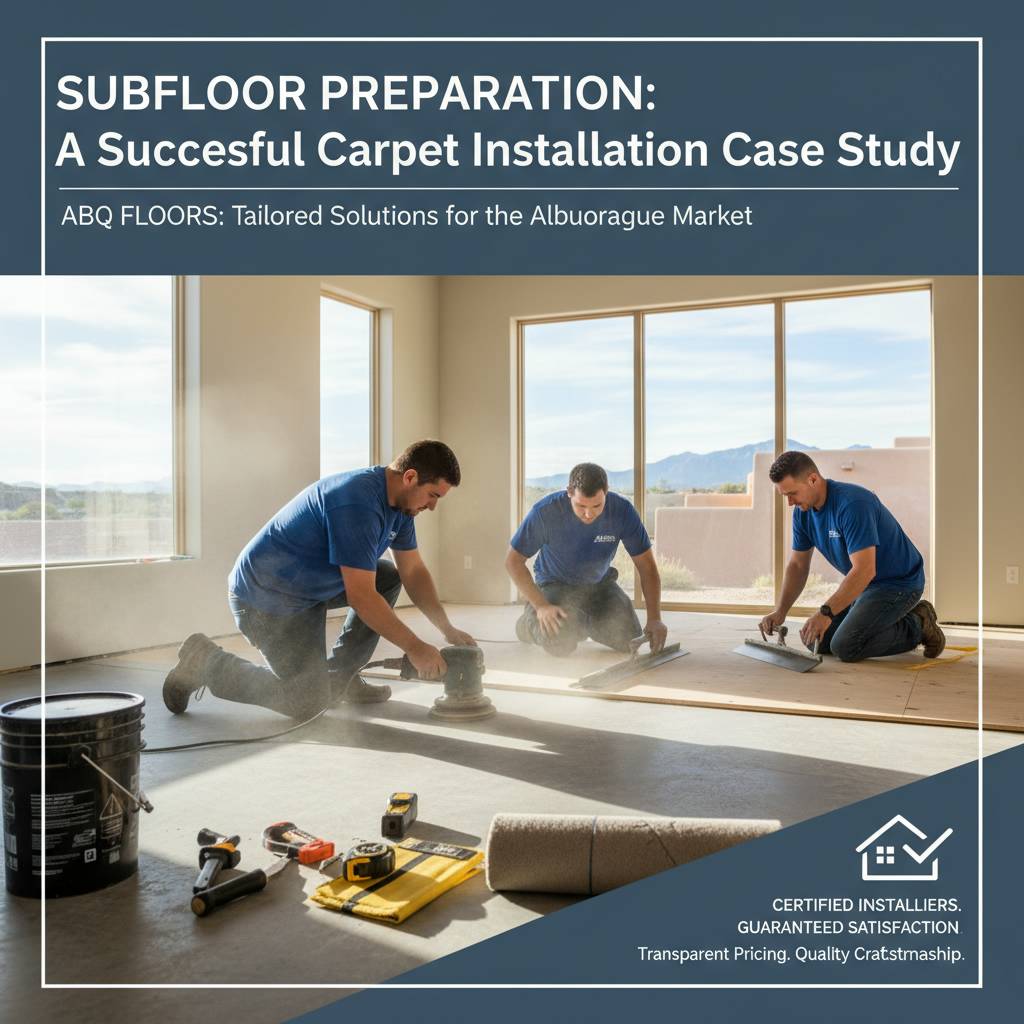 A recent multi-room retrofit illustrates the value of thorough preparation. The home had a 1970s slab with elevated moisture readings in two rooms. Our inspection included RH tests and visual checks. We removed an old adhesive layer, ground the slab to eliminate peaks, and applied a moisture mitigation membrane. After re-testing to confirm acceptable levels, we installed a bonded underlayment and proceeded with carpet installation. The homeowner reported no odors, no seam issues, and improved comfort from day one.
This project highlights why installers document each step and why cutting corners can be costly. The upfront cost for moisture mitigation and a bonded underlayment was more than replaced by avoiding short-term failures and the expense of pulling up and replacing carpet later. When customers ask how installers prepare subfloor for carpet in a way that's reliable, this is the kind of methodical process we recommend and follow.
If you're planning new carpet, an initial subfloor assessment is the best next step. National Carpet Installation will schedule an on-site evaluation to measure flatness, test moisture, and identify any repairs or special products required. Our assessment includes a written estimate and a timeline so you know what to expect and how long preparation and installation will take. We strive to minimize disruption while delivering a durable final result.

For routine projects and complex restorations alike, NCI and our crew are available to answer questions and advise on product choices that align with your budget and performance goals. Whether you're replacing a single room of carpet or completing a whole-house renovation, our preparation-first approach protects your investment and improves the final performance of your new flooring.
Ready to get started? Call us at 505-555-7733 for an on-site subfloor evaluation and a detailed plan. We'll explain each step of how installers prepare subfloor for carpet and provide a clear estimate so you can move forward with confidence.
Contact National Carpet Installation today to schedule a consultation or to request references for similar projects. Our documented quality checks and transparent pricing make it easy to plan and trust the outcome. Reach out at 505-555-7733 to set an appointment or get immediate answers to your questions.